👐 Setup dev environment in Sagemaker Studio
You will be using a Jupyter Notebook in Sagemaker Studio as the dev environment for the rest of the lab.
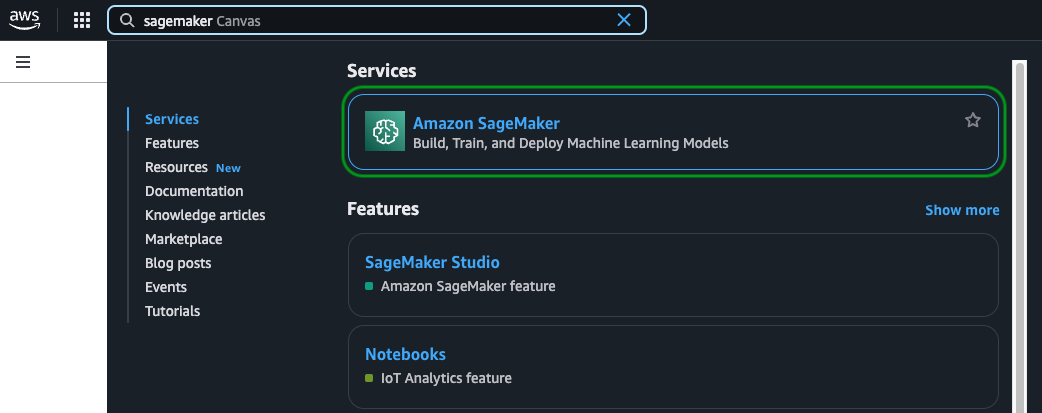
Start by navigating to Amazon Sagemaker from the AWS Console.
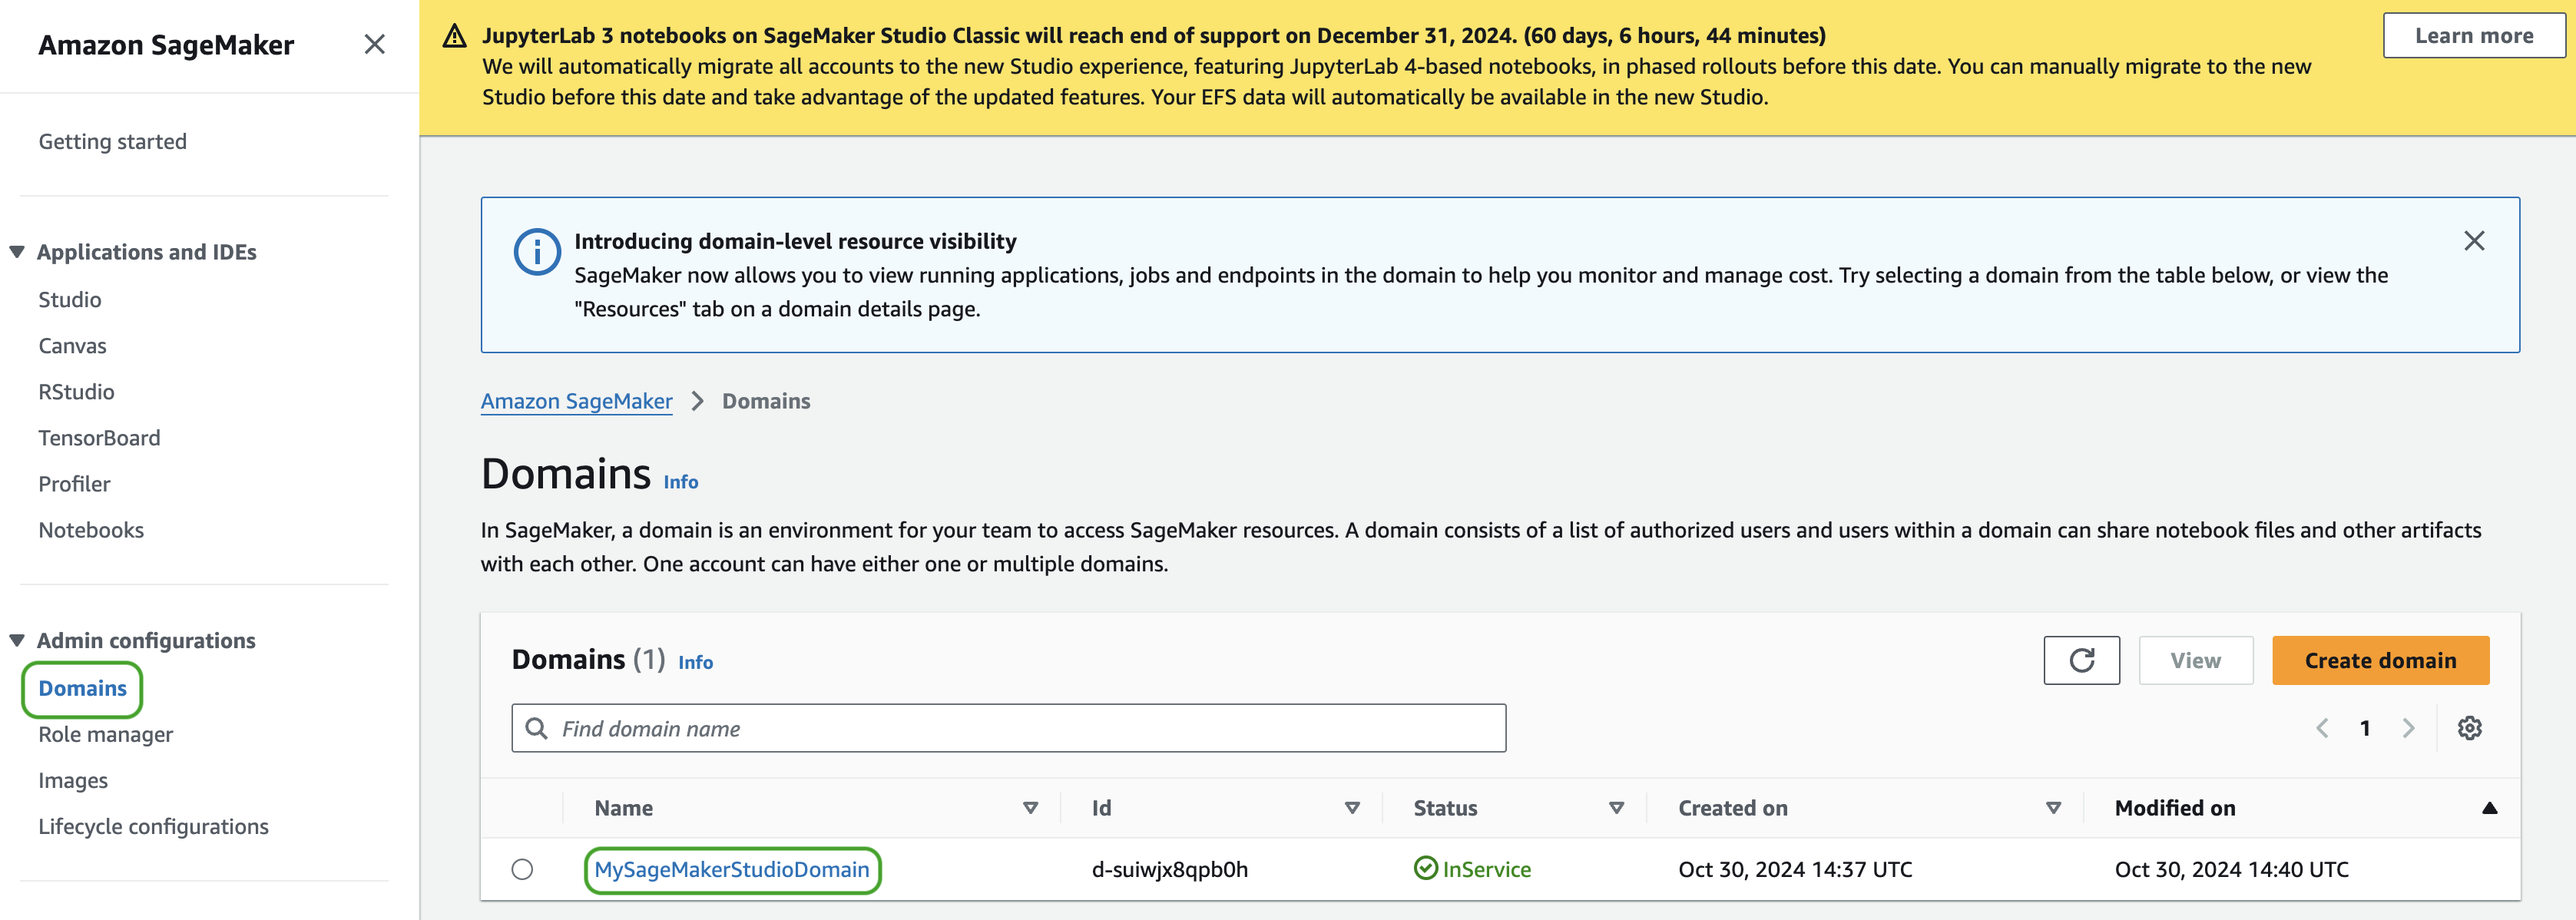
In the sidebar, click on Domains under Admin configurations and select the pre-configured domain.
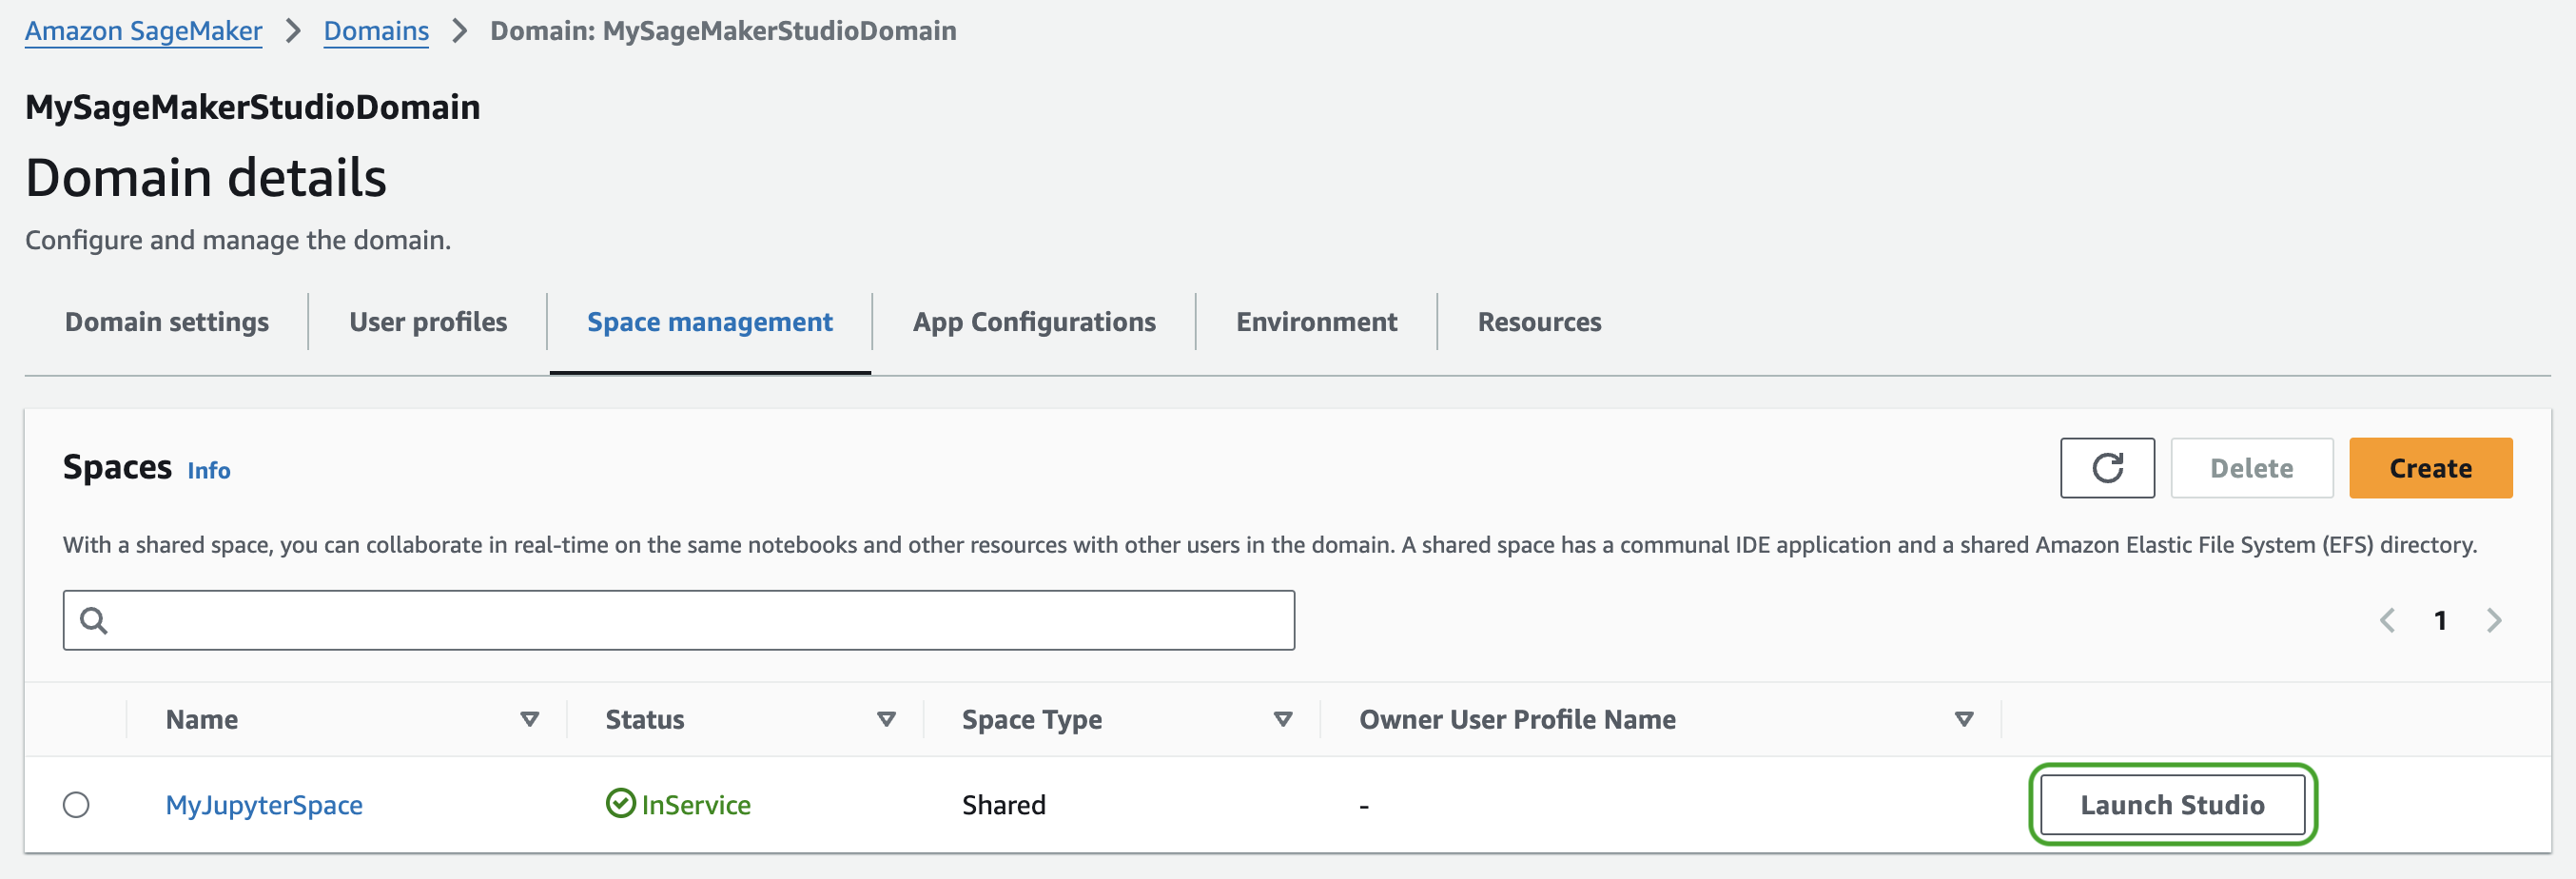
Under Domain Details, click on Space management.

You should see a pre-configured space appear. Click Launch Studio to launch a Sagemaker Studio environment in this space.
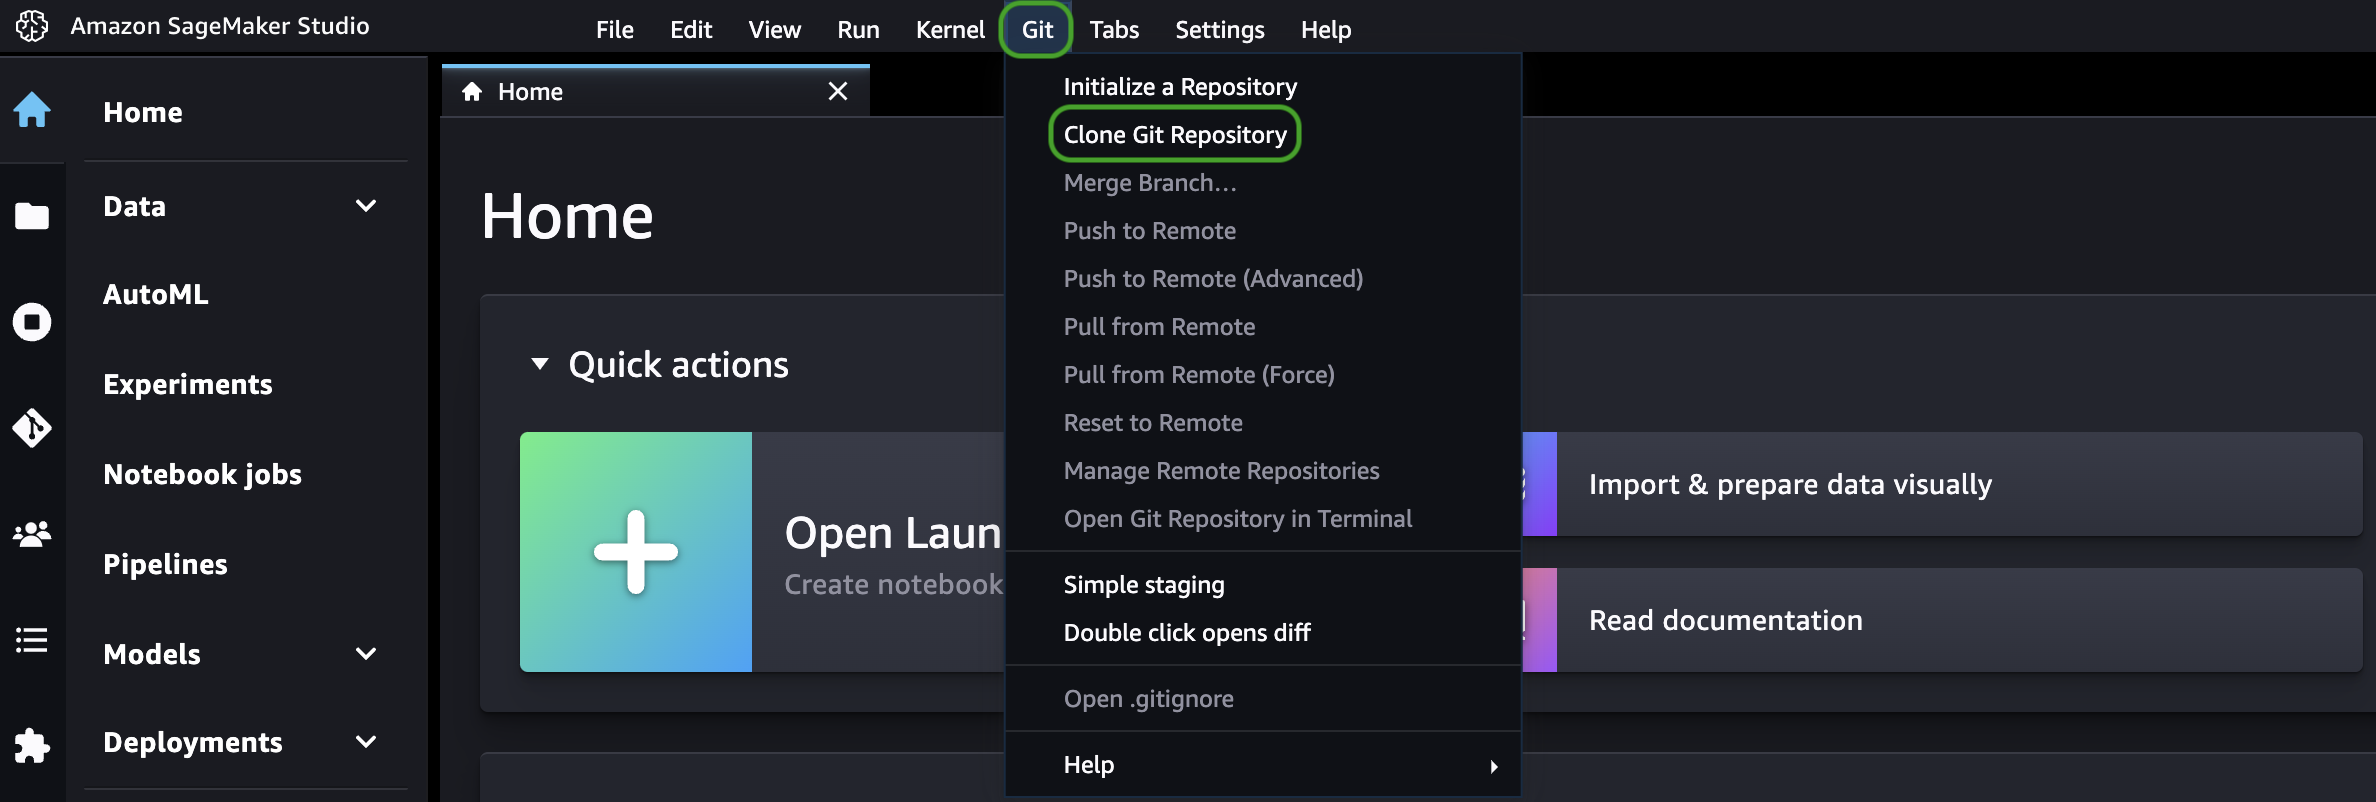
In the Sagemaker Studio console, select the Git dropdown from the menu bar at the top and then select Clone Git Repository
In the modal that appears, paste the following URL in the Git repository URL box, click the Clone https://... message from the drop-down, and click the Clone button: https://github.com/mongodb-developer/mdb-aws-agents-lab-notebooks.git
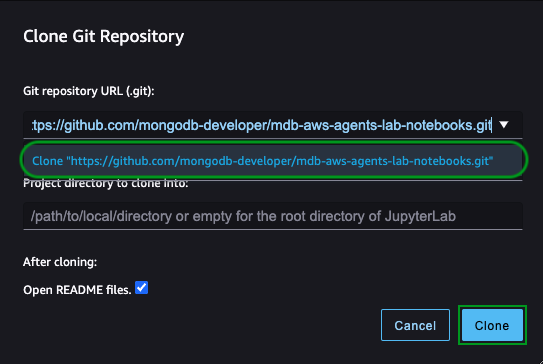
Once the repo is cloned, you will see the content of the repo in the sidebar. Double-click on the file named notebook_template.ipynb. This is where you will fill in code for the rest of the lab.

When prompted to select the notebook environment, proceed wih the defaults by clicking the Select button.
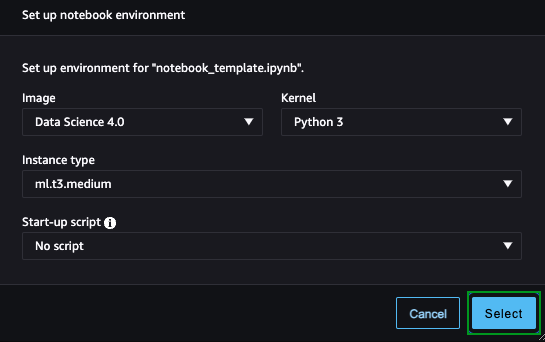
That's it! You are ready to start building your AI agent!