Device Sync
We'll enable Device Sync, which will allow our app to send and read data from our MongoDB Atlas cluster, and Developer Mode, which will create the Collections, schemas, etc. for us.
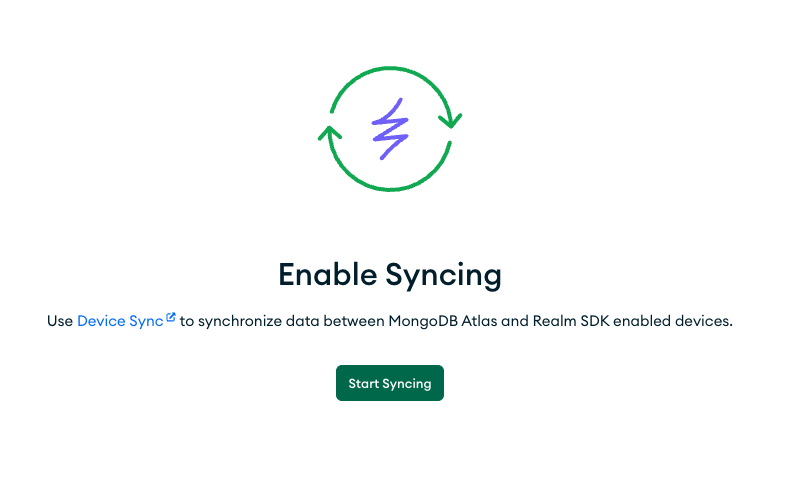
Enable Device Sync
Click on Start Syncing. It will ask us if we want to generate a Schema. We don't want this, as the schema will be created for us automatically in Development Mode. So we click on No thanks, continue to Sync.

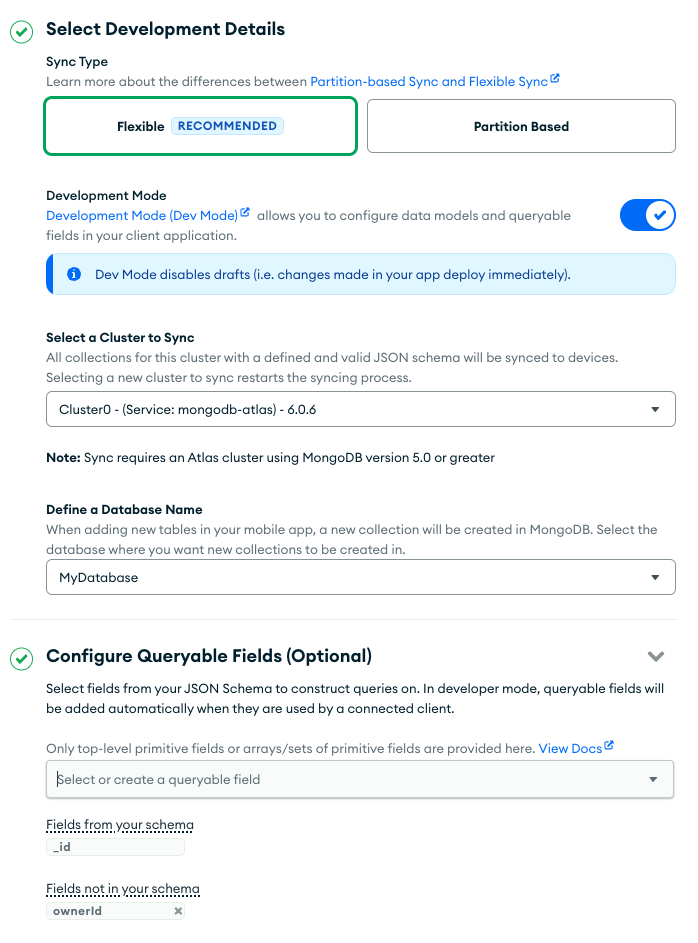
Now we'll select:
- Flexible Sync (more on that later)
- as a cluster, pick the one that you prefer
- Database name: we'll expand the drop down box and click on
Add new database, then insert a name for our Database. This won't be created until some data is inserted for real. - Configure Queryable Fields: we want to sync our data so each user can see her own data. For that, we'll add an ownerId field, so we can tell what data is from which user.

Development Mode
We need to enable development mode in order for our changes in the mobile app to be applied to our MongoDB Database. This is only recommended during development, for obvious reasons.

Final settings
Your settings should look like these:

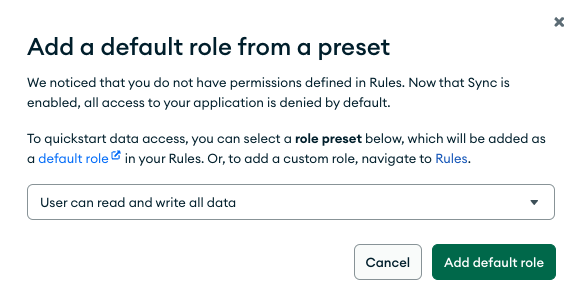
Confirm and add a Role
Confirm Enable Sync. A window will appear asking us to select a role. We can define a custom one of choose among the preset roles. Select "User can read and write all data" and click on Add default role.

Review Draft & Deploy
As always, changes only take place when we deploy them. Do it now.