👐 创建一个 MongoDB Search 索引
要开始使用 MongoDB Search,你必须在数据库上配置一个搜索索引。MongoDB Search 索引以易于搜索的格式分类数据,并通过特定标识符实现更快的文档检索。你可以直接从 Atlas UI 创建搜索索引。
创建第一个 MongoDB Search 索引的分步指南
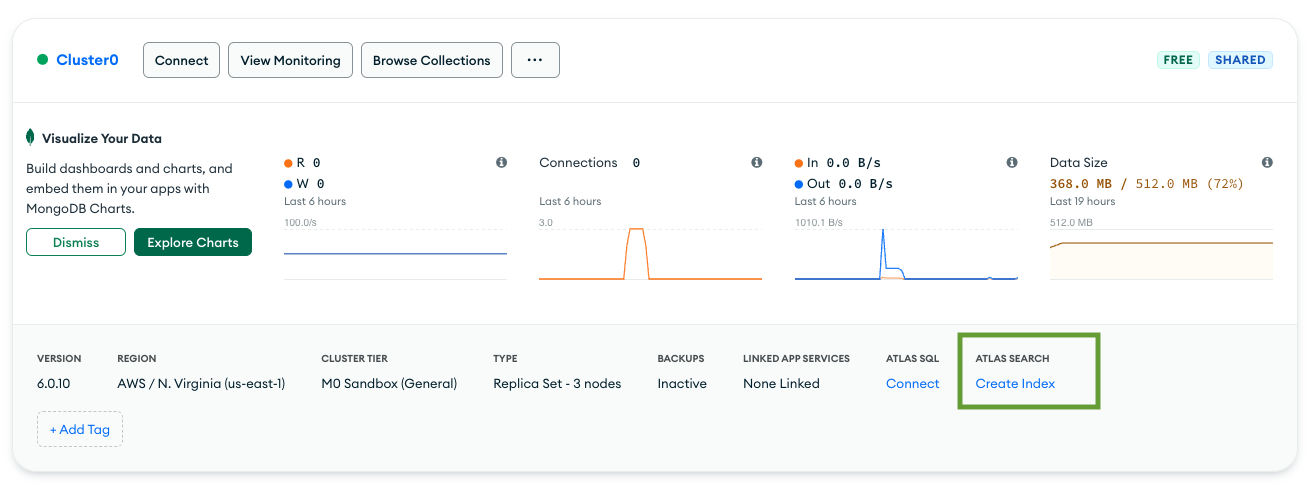
打开 MongoDB Atlas 中的 Clusters 页面,然后在右下角选择 Create Index。
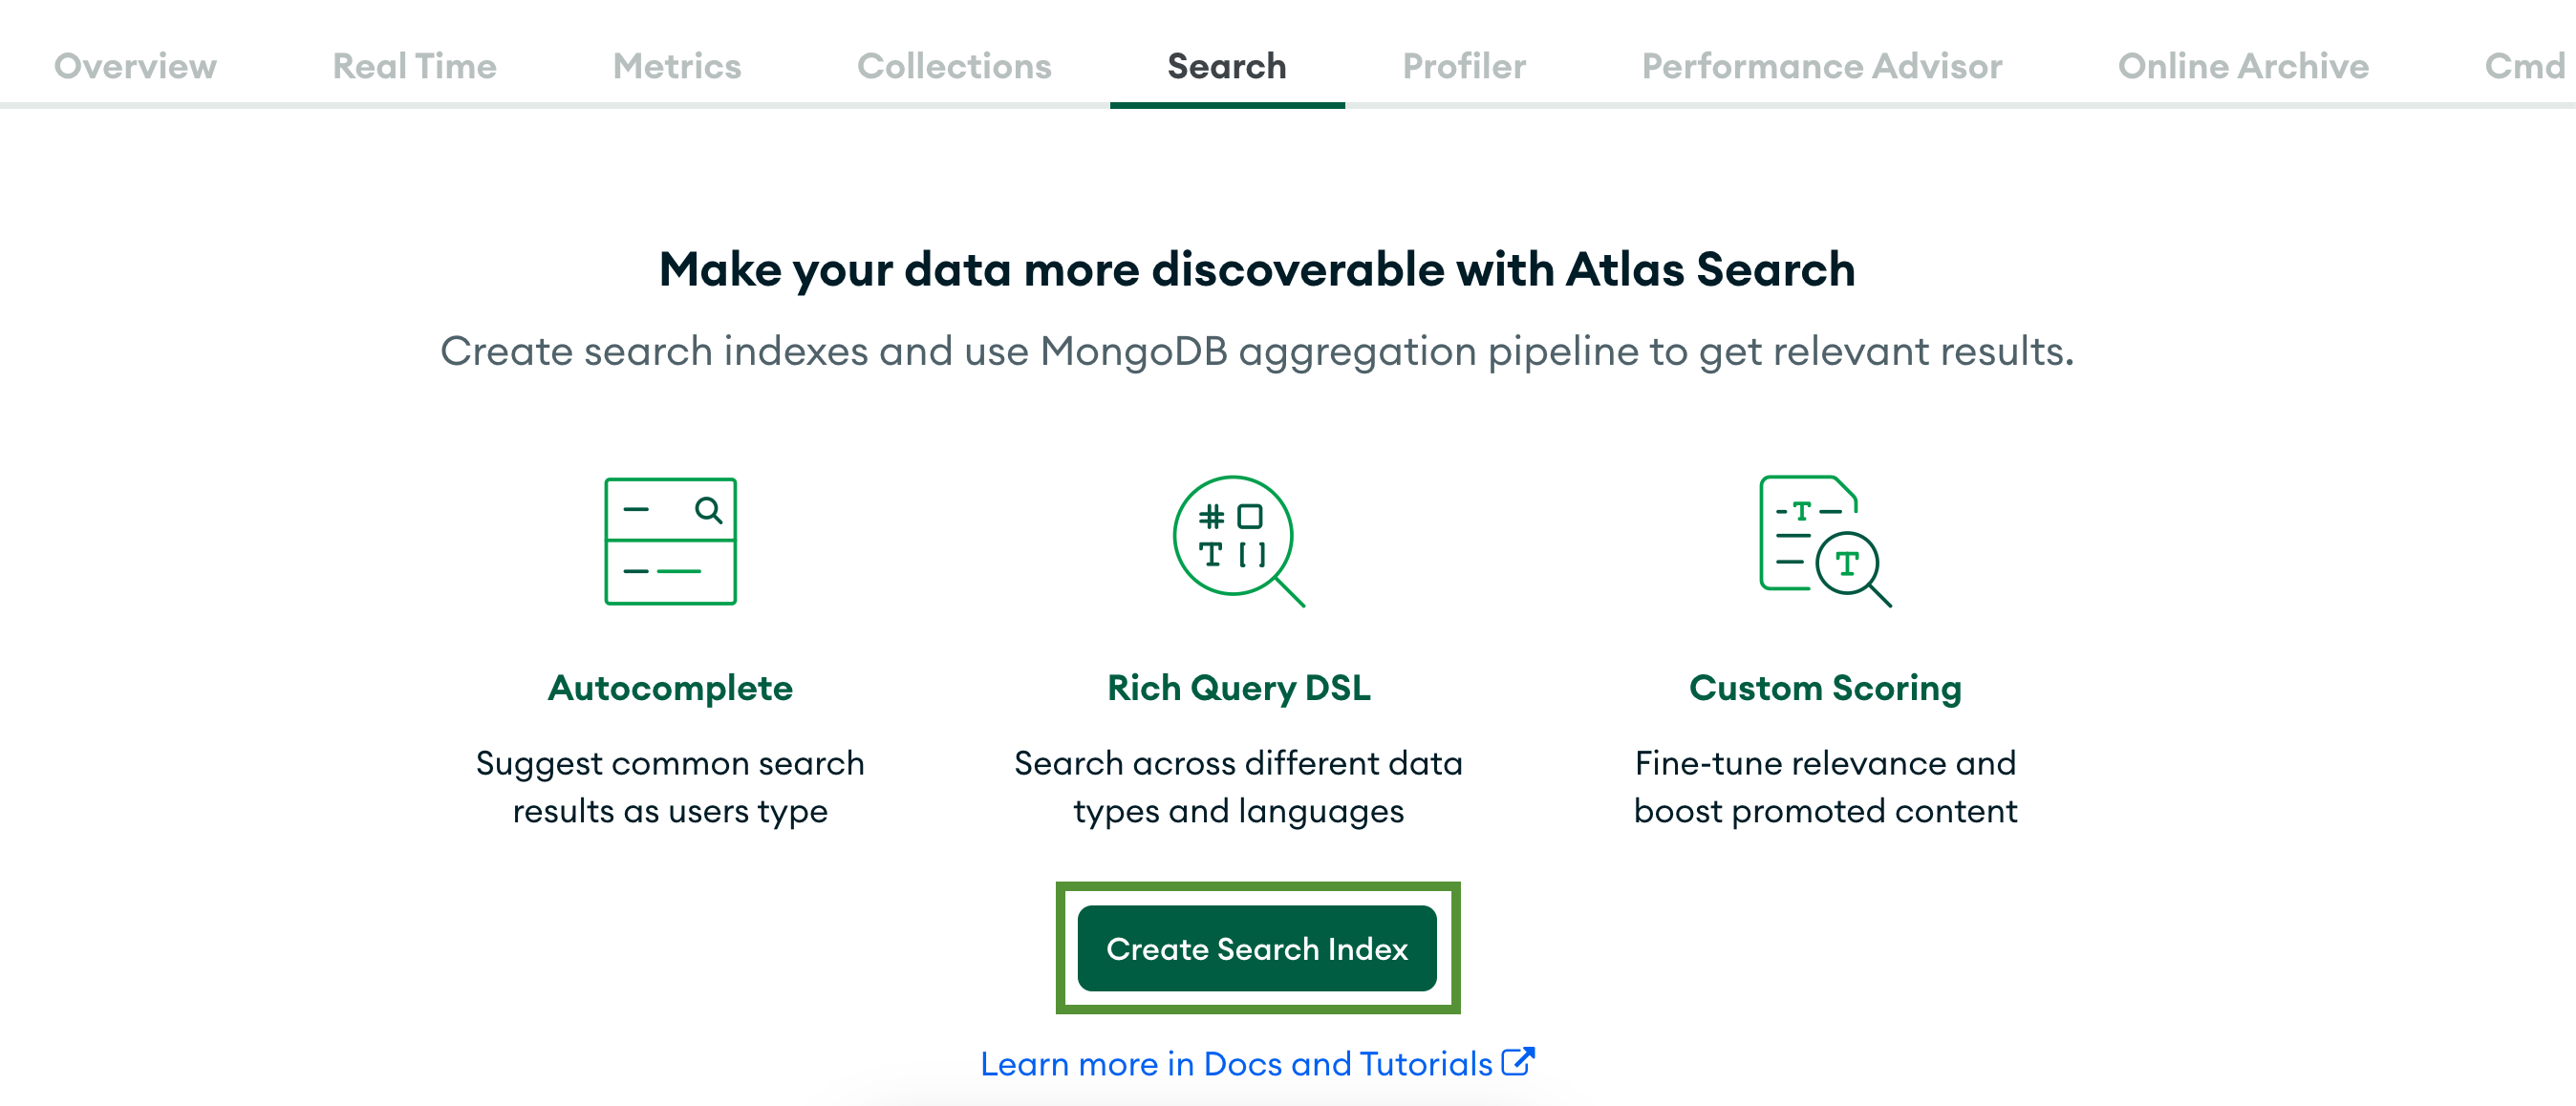
点击 Create Search Index 按钮。
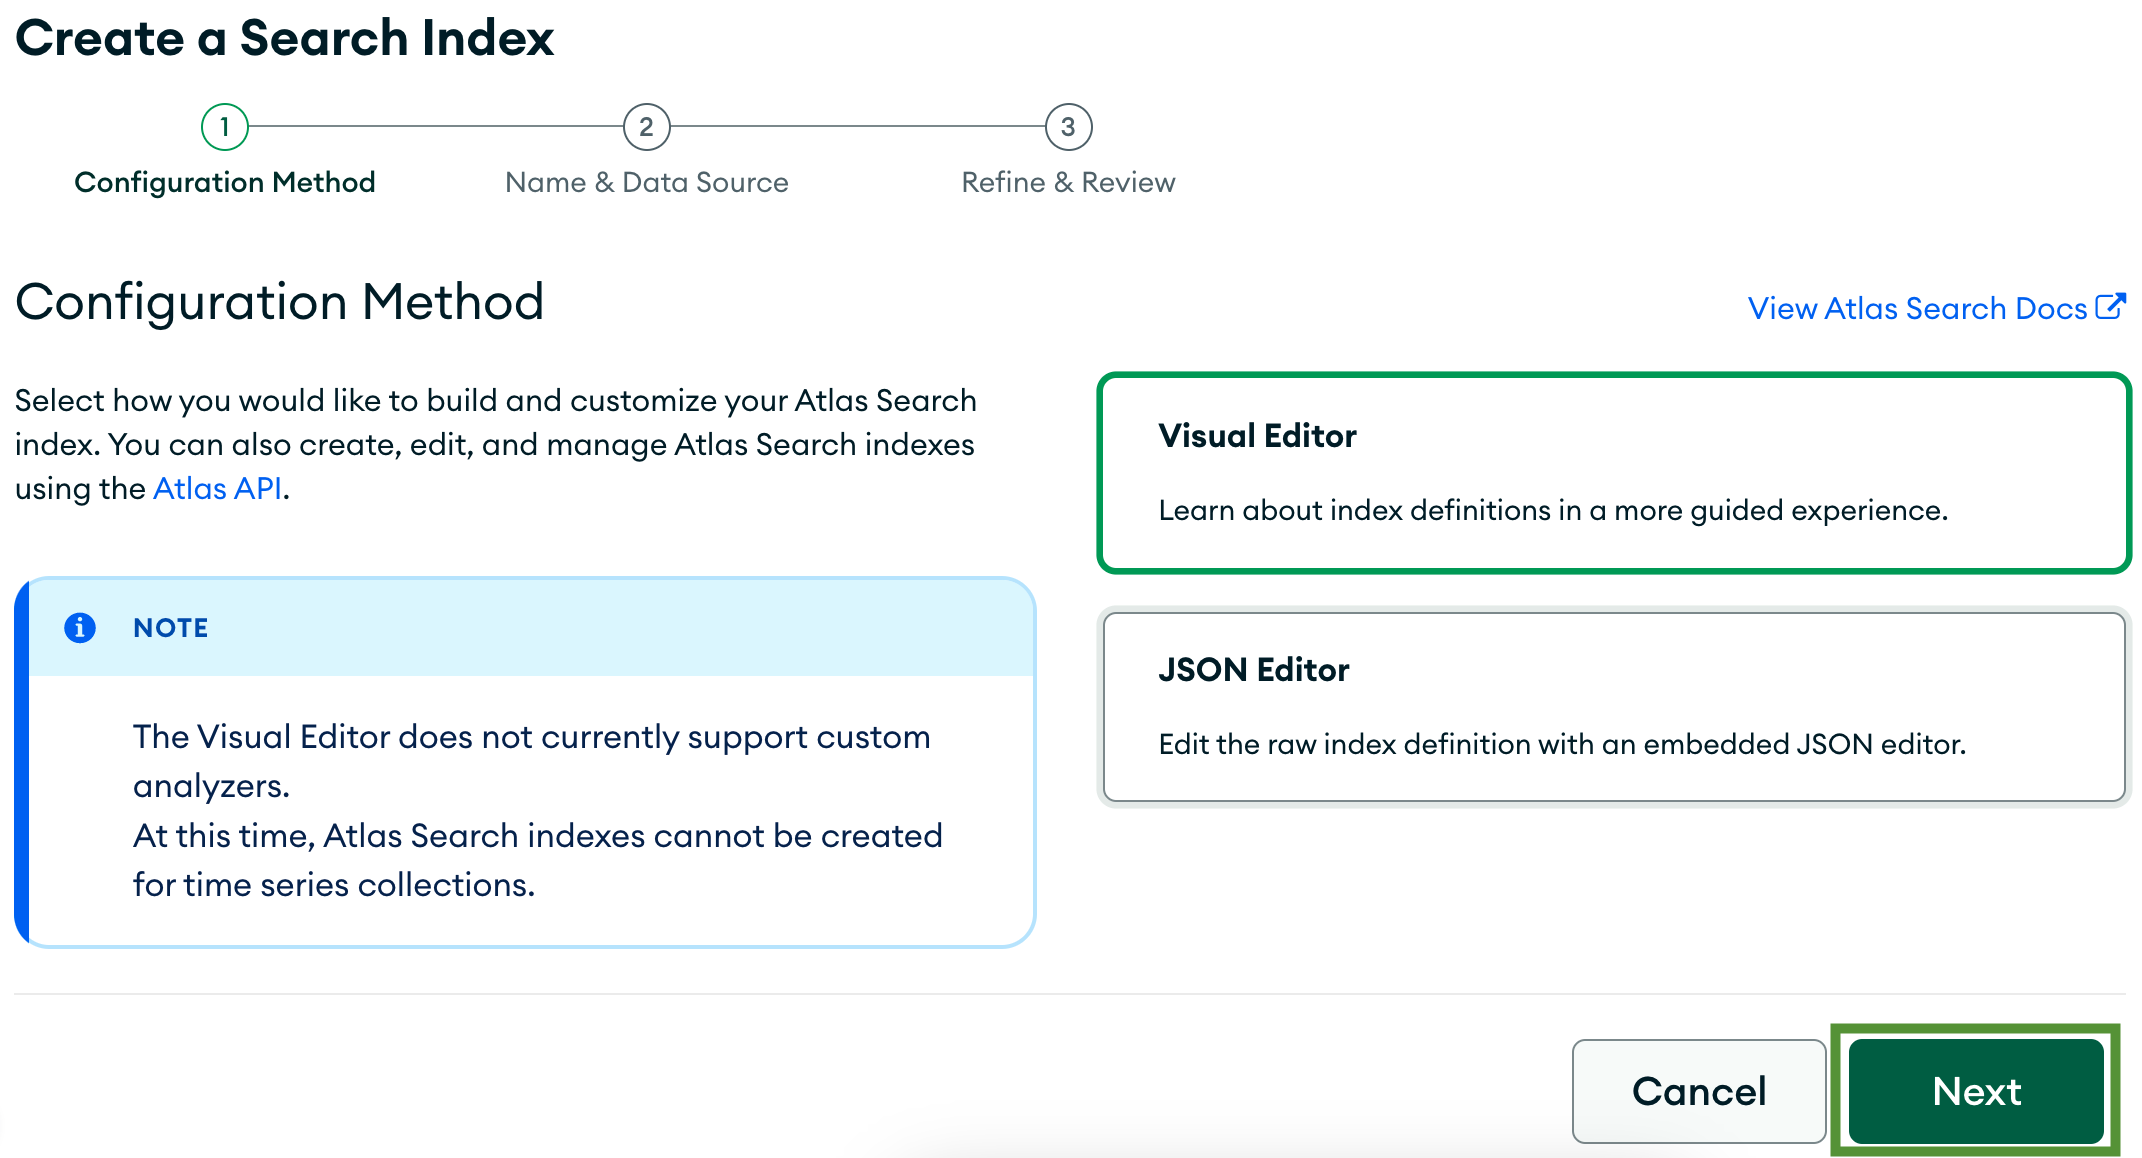
构建搜索索引的第一步是选择配置方法。你可以从两种选项中选择——使用 Visual Editor 或使用 JSON Editor 自行编写配置。让我们保持默认的 Visual Editor。要继续,请点击 Next。
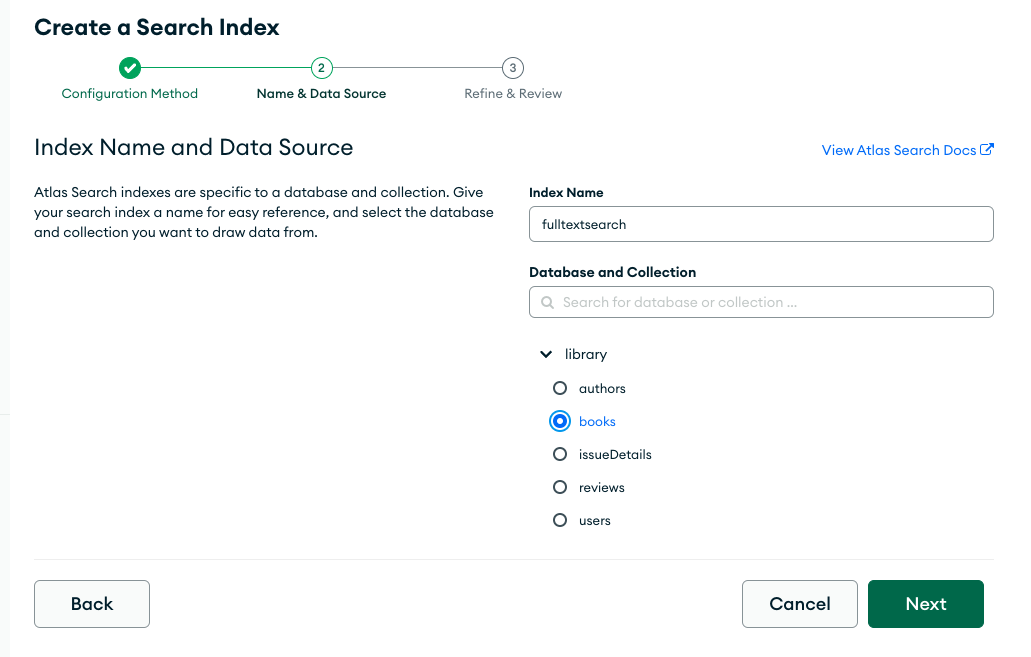
接下来,你需要为索引选择一个名称和数据源。将名称更改为 fulltextsearch,并选择数据库 library 和集合 books。
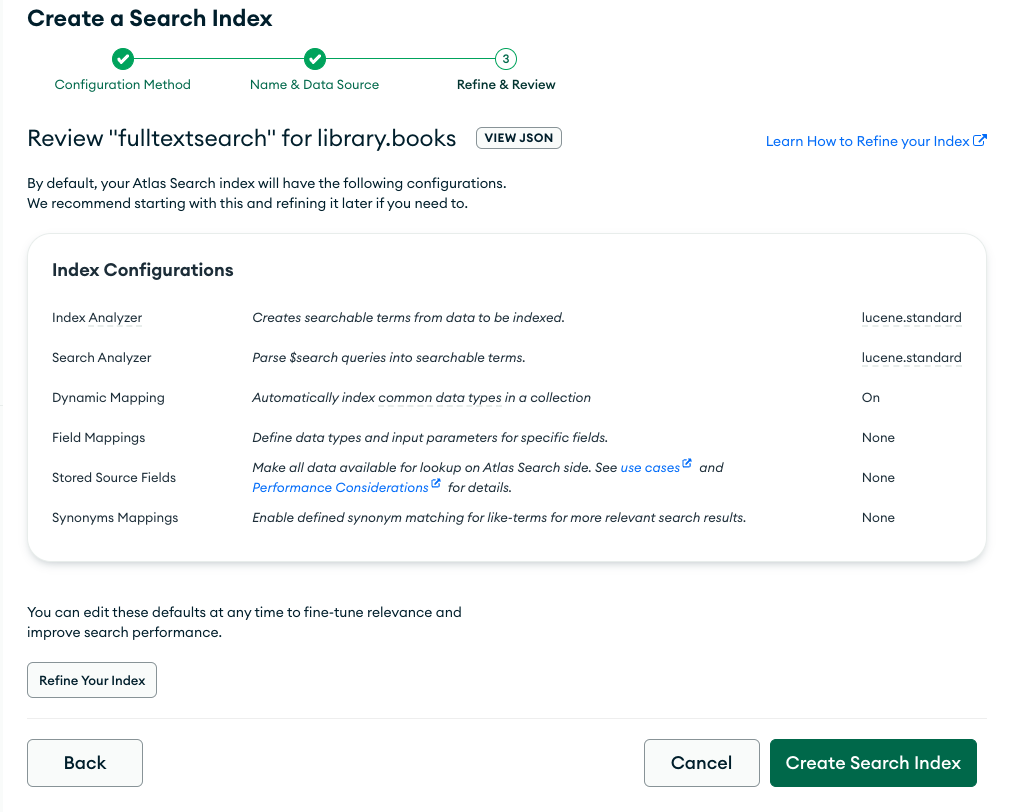
最后一步允许你审查索引配置并在需要时进行改进。你还可以通过点击 View JSON 查看从你的配置生成的 JSON。
{
    "mappings": {
        "dynamic": true
    }
}
该索引使用动态字段映射。我们没有在文档和搜索索引之间配置任何明确(静态)的映射。这就是为什么 Atlas 创建了动态映射,将文档中的数据匹配到一些常见字段类型,如 double、string、array 和 int。
动态映射在你刚开始使用 MongoDB Search 或你的模式经常变化时非常有用。然而,与静态映射相比,它们占用更多空间。
你不需要改进此索引。继续点击 Create Search Index。
你将被重定向到一个页面,显示你的 Atlas 项目中使用的所有搜索索引。创建索引大约需要一分钟。
当你�的搜索索引状态变为 Active 时,你将能够看到更多关于索引的信息。例如,索引的文档数量、字段映射和索引大小。还要注意,你使用的是免费 M0 数据库附带的 3 个免费搜索索引中的 1 个额度。

当你看到新索引在列表中显示为 Active 时,你可以继续下一步。