👐 Deploy a Database Cluster
Now that you have a MongoDB Atlas account, you can create your first cluster. A cluster is a group of at least three servers that store your data. Using a cluster ensures that your data is always available, even if one of the servers fails.
You can create your first database cluster for free. It won't expire, and you will have a 500 MB storage limit. This is enough to get started with MongoDB Atlas.
Create a new cluster
From the overview page, click on "+ Create."
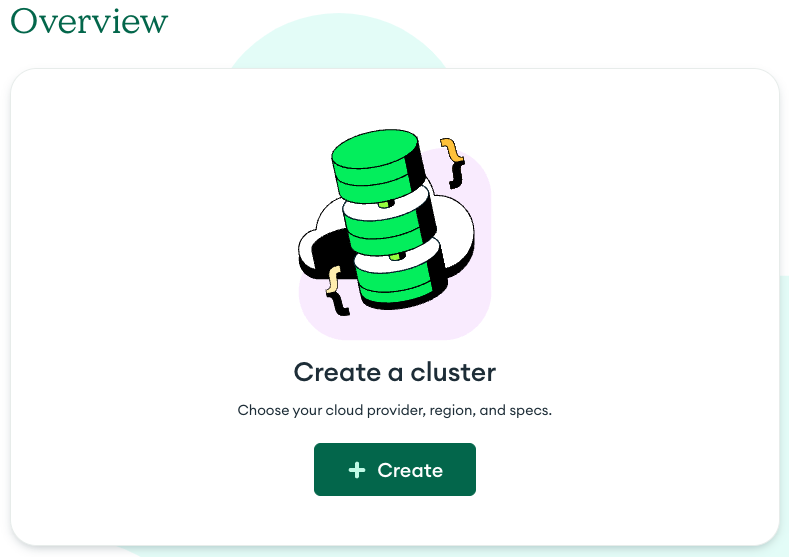
If you just created your account, you will automatically be redirected to the cluster creation page and can skip this step.
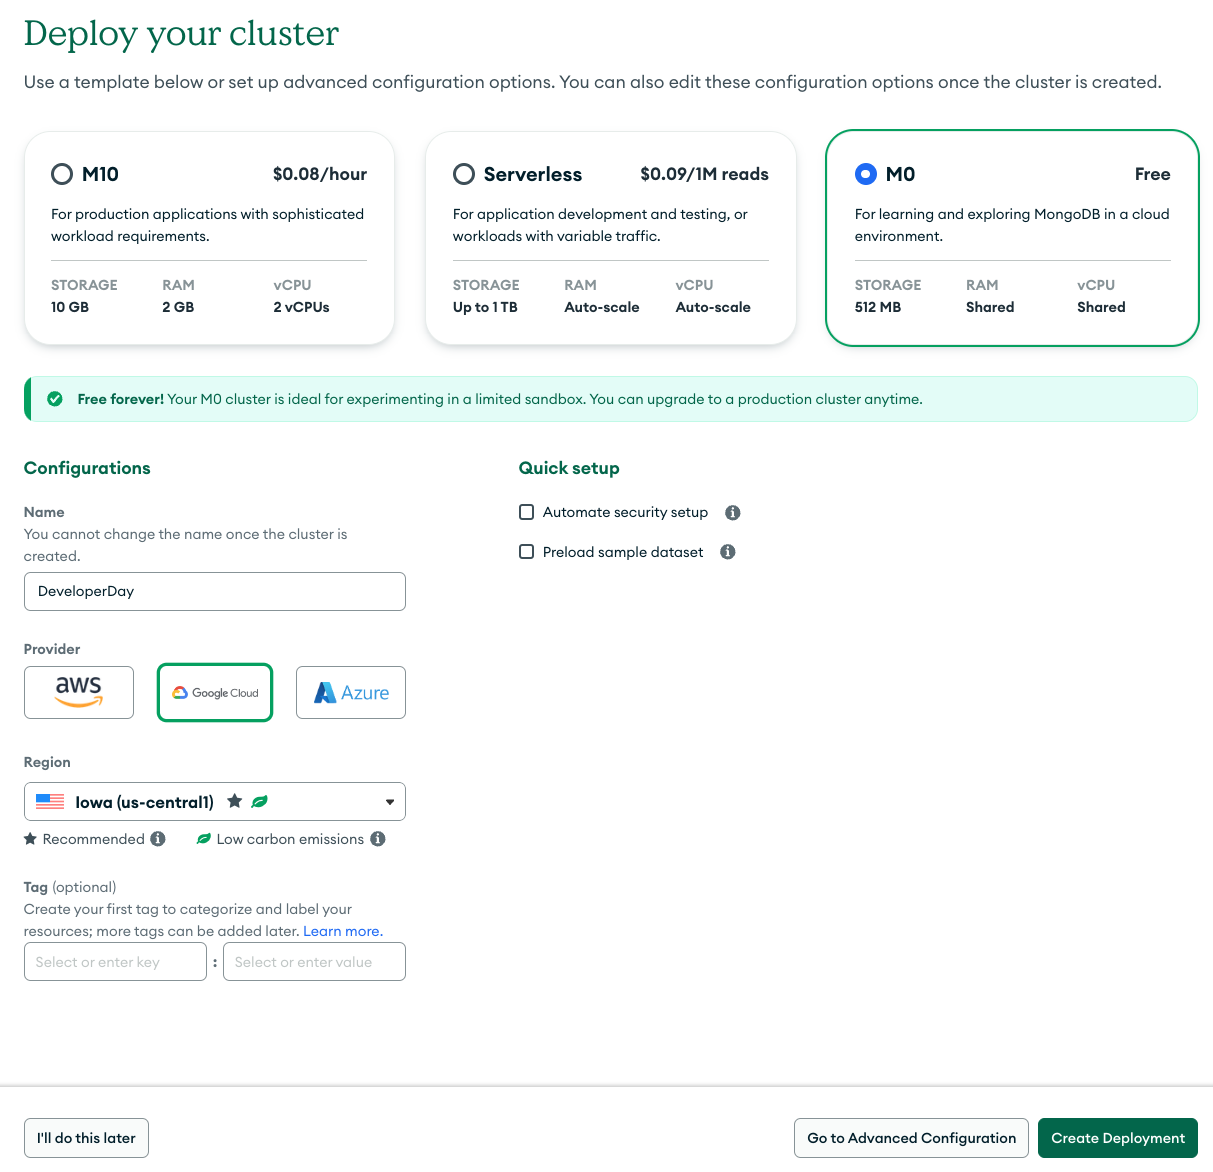
You will be redirected to the cluster creation page. Here you can choose the cloud provider and region where your data will be stored. You can also choose the type of cluster you want to create. For this tutorial, we will use the free tier.
- For the cluster tier, pick M0, which is the free tier. In the Name input box, put the name "DeveloperDay" (one word, no spaces).
- Uncheck the Automate security setup box. You will set up security manually in the next steps.
- Uncheck the Preload sample dataset box. You will import a dataset later in this tutorial.
- Select your favorite cloud provider and the region closest to you.
- Finally, click on "Create Deployment."
Once you're done with the hardest part of the process (the captcha), you will be redirected to the security quickstart.
Security quickstart
By default, your MongoDB Atlas deployment is completely locked down. You need to configure the network settings and create a user to access your database.
While your deployment is being provisioned, you will see the security quickstart dialog.
Network access
First, you need to Allow Access from Anywhere. You will see a field prepopulated with the IP address 0.0.0.0/0. This means that you can connect to your database from any IP address, including the virtual environment you will use for this lab. Click Add IP Address to add it to the network allowlist.
If you don't see a button to allow access from anywhere, you should close the dialog and go to the Network Access tab under the Security section in the left sidebar. Click on Add IP Address, add 0.0.0.0/0, and click Confirm.
It is dangerous to expose your database to the entire world. Never do this in a real production environment.
Database user
Next, you need to create a database user. Pick any username and password you want. They will be used when you want to connect to your database. Click "Create Database User" to create the user.
Atlas might create the user automatically for you if you have just created your account. In this case, the username and password will match your Atlas account credentials.
Make sure to remember your username and password. You will need them later.
For the sake of this workshop, it might be preferable to use a simple password that you'll remember over a more secure one.
Don't use any special characters in your password. Even though MongoDB allows some special characters, they might not work well with the tools you'll use later in this workshop.
That's all!
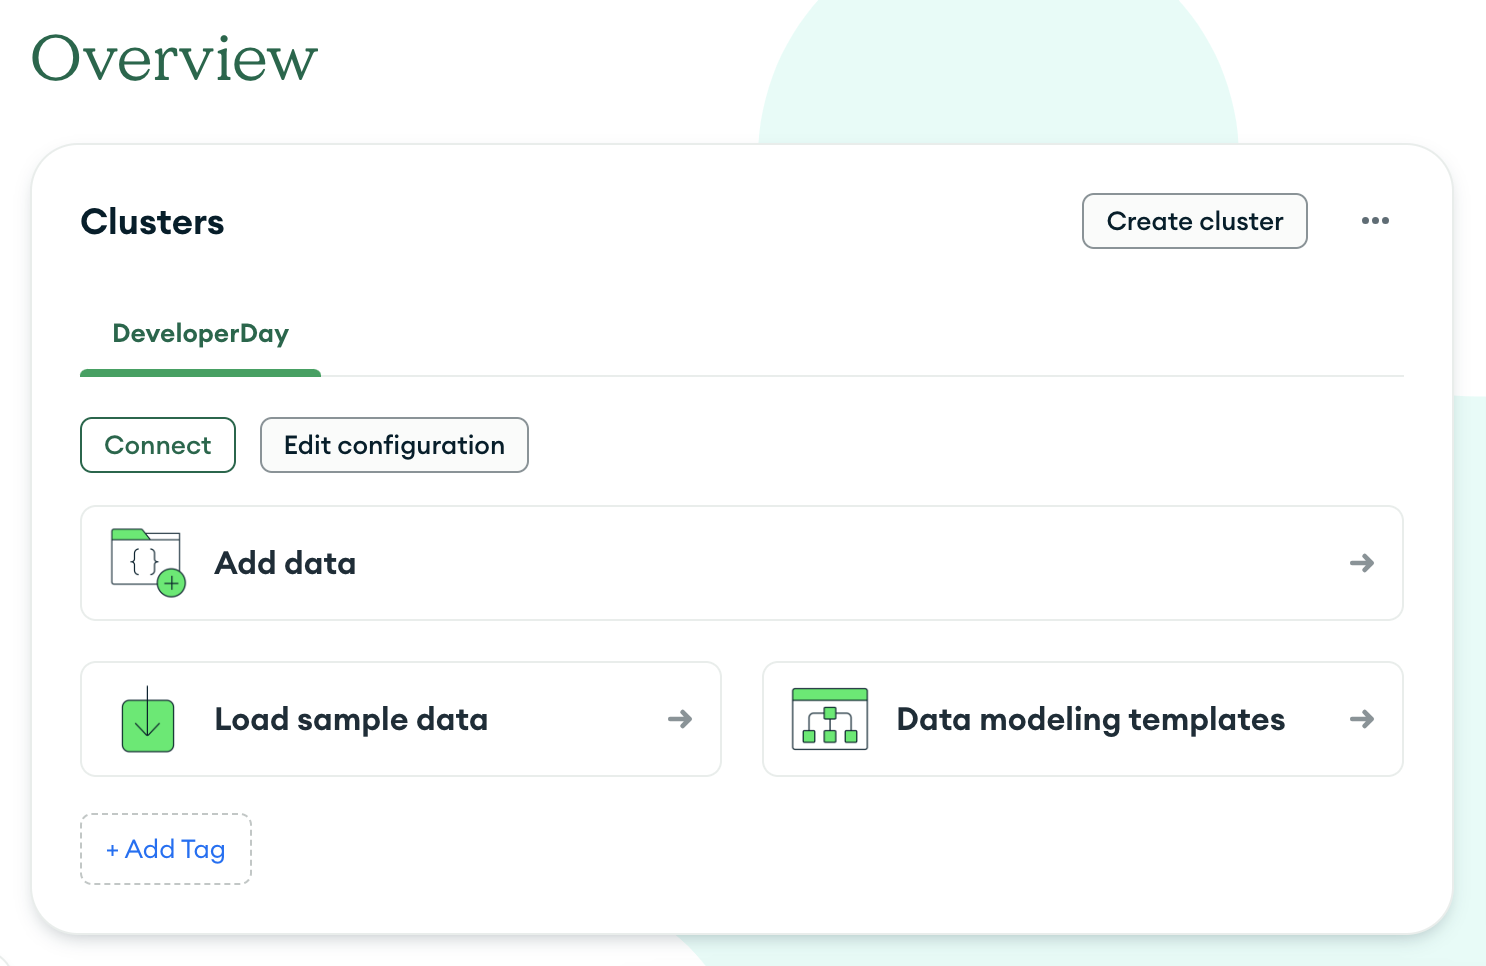
You have a new database cluster, and you can now connect to it from your application. If everything goes well, you should see your newly created cluster in the database deployment screen.