👐 Start the Application
You have two options to start the application.
Option 1: Run in Instruqt
Instruqt is a lab platform that provides cloud-based sandboxes which come pre-configured with all the tools you need to run this lab.
Navigate to the Instruqt lab using this link.
Fill out the form that appears and click Submit and access.
Click Start to launch the lab environment.
You should see a screen with a purple progress bar indicating that Instruqt is preparing a sandbox with all the required libraries for this lab and a MongoDB database.
Once this is done, you should see a Start button at the bottom right of the screen. Click this to enter the lab.
Option 2: Run in a codespace
If Instruqt is not working for you, you can also use GitHub Codespaces. A GitHub Codespace is a cloud-hosted, containerized development environment that you can connect to from Visual Studio Code. It comes pre-configured with all the tools you need to build and run the application.
Similar to Instruqt, you can even use Codespaces as an online IDE to edit the code and see the changes reflected in the running application.
- 🚀 NodeJS/Express
- ☕️ Java Spring Boot
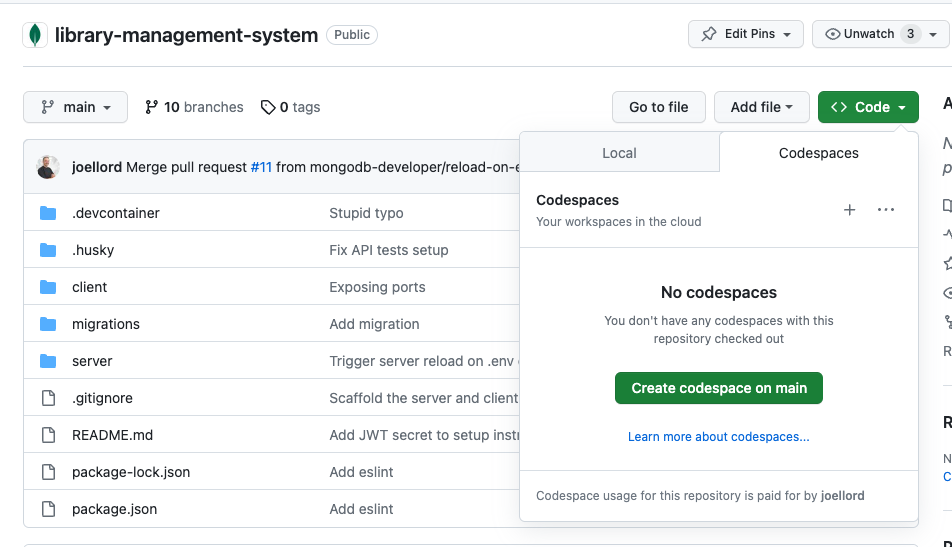
Open the repository on the main branch.
To start the application in a codespace, click "Code." Then, look for the Codespaces tab. Click "Create Codespace on main." This will create a new codespace for you and start the application.
Let it run for a few minutes as it prepares your environment. It will clone the repository, prepare the containers, and run the installation scripts. Once it's ready, you'll see an IDE, with a preview window that shows the running application.
Again, this might take a few minutes. It's a great time to grab a coffee. ☕️
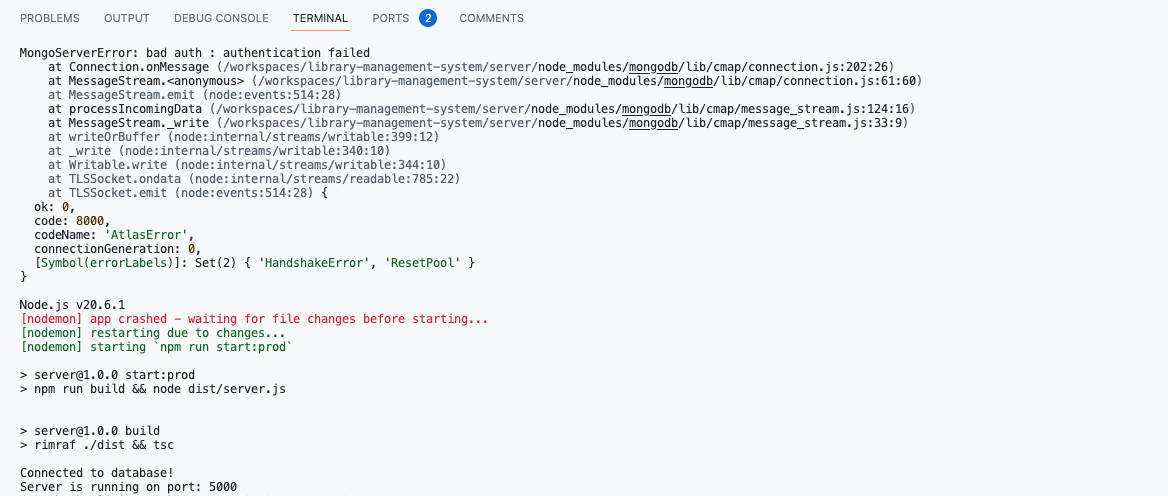
Once the command finishes, the application will be running on port 5400.
In the Terminal tab at the bottom, look for the line Server is running on port: 5400. If it appears, the Node.js API for the library application is up and ready to serve requests.
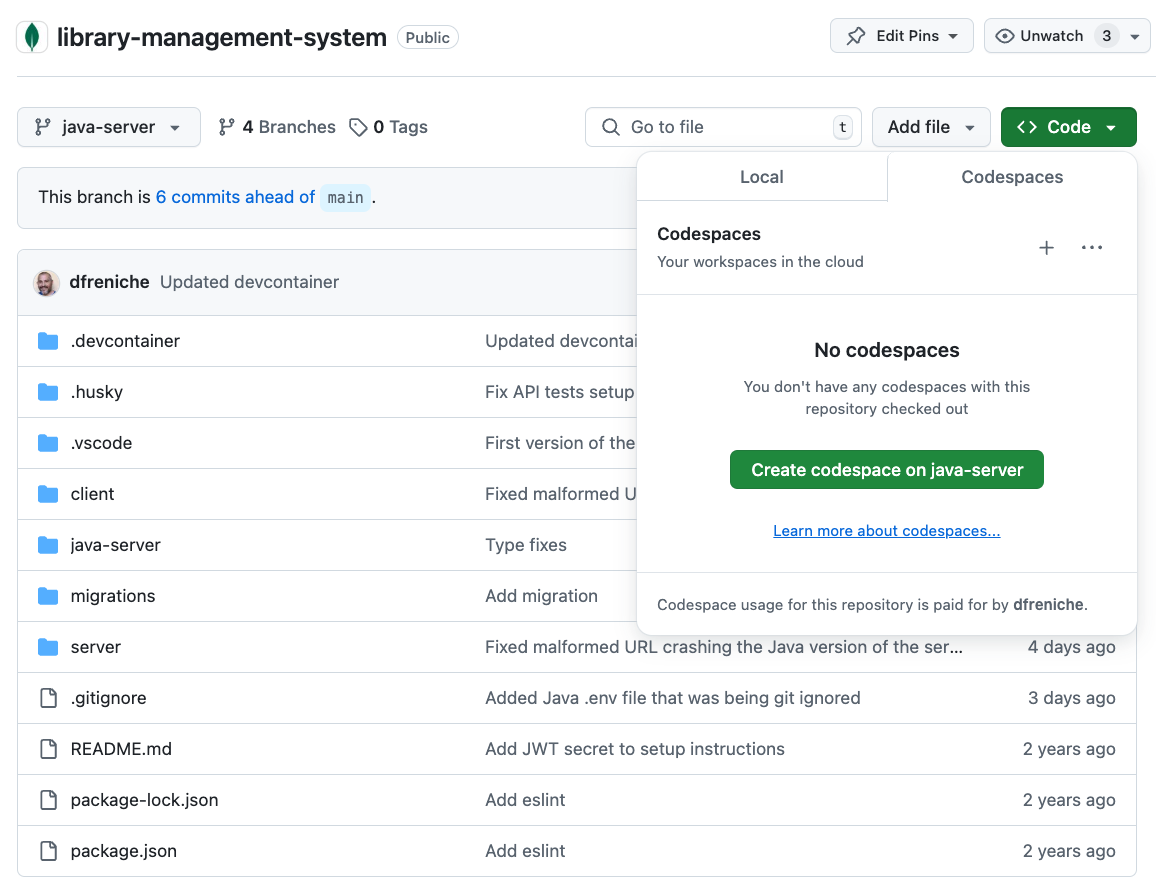
Open the repository on the java-server branch.
To start the Java application in a codespace, check that you are in the java-server branch and then click "Code." Then, look for the Codespaces tab. Click "Create Codespace on java-server." This will create a new codespace for you and start the application.
Let it run for a few seconds as it prepares your environment. It will clone the repository, prepare the containers, and run the installation scripts. Once it's ready, you'll see an IDE, with a preview window that shows the running application.
Again, this might take a few minutes. It's a great time to grab a coffee. ☕️
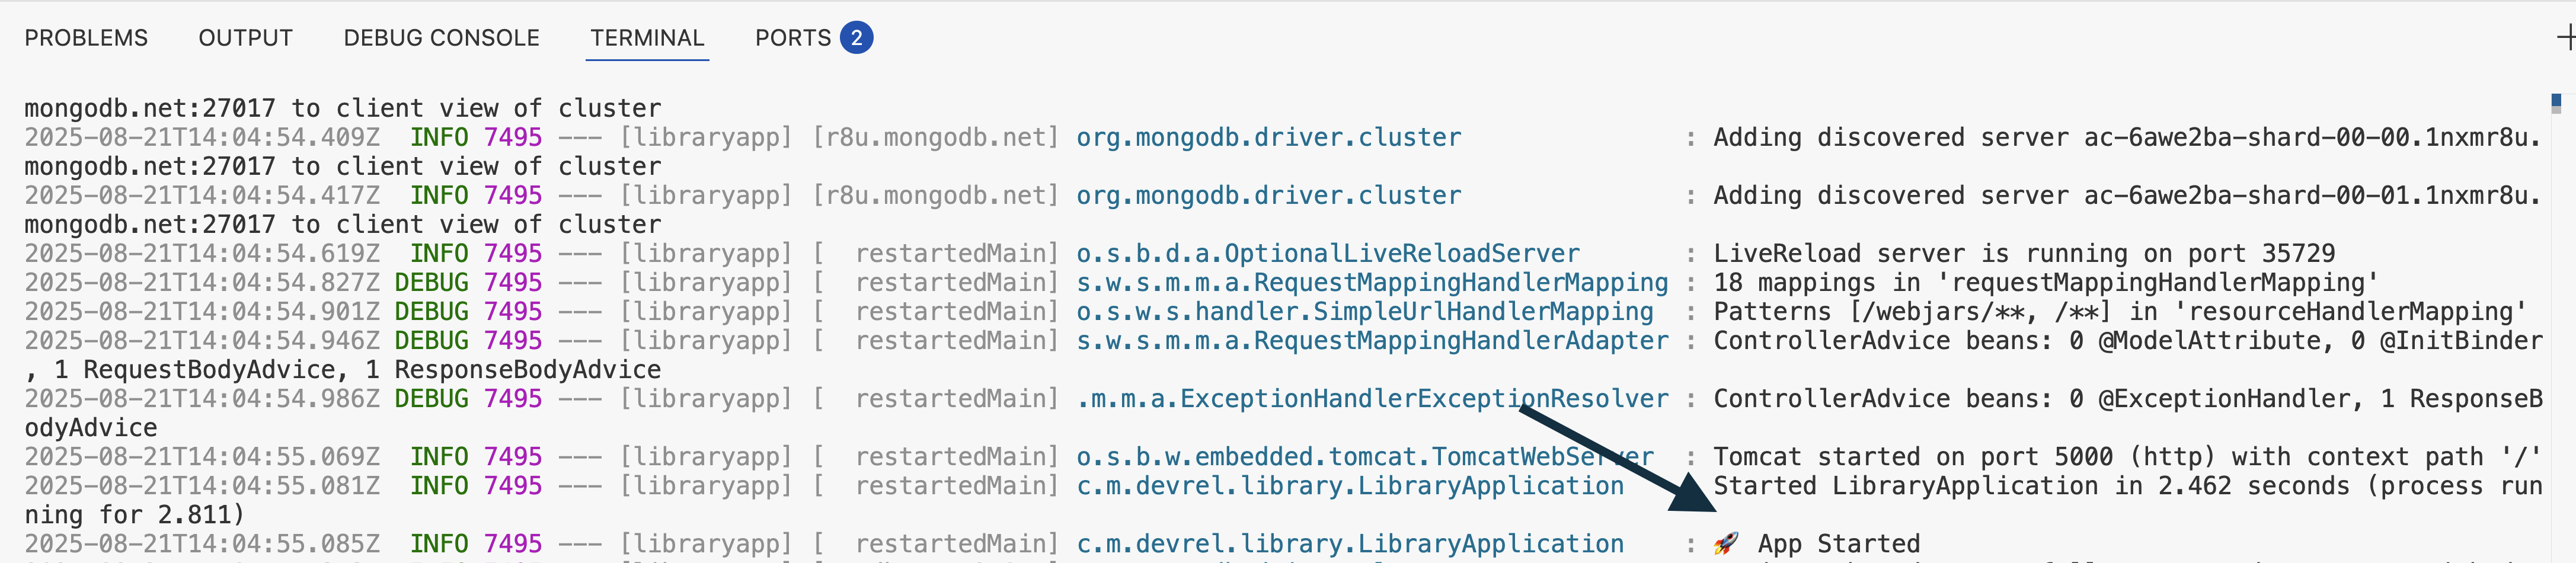
Once the command finishes, the application will be up and running on port 5400.
Access the library website
Once the environment loads, you may see the following warning:
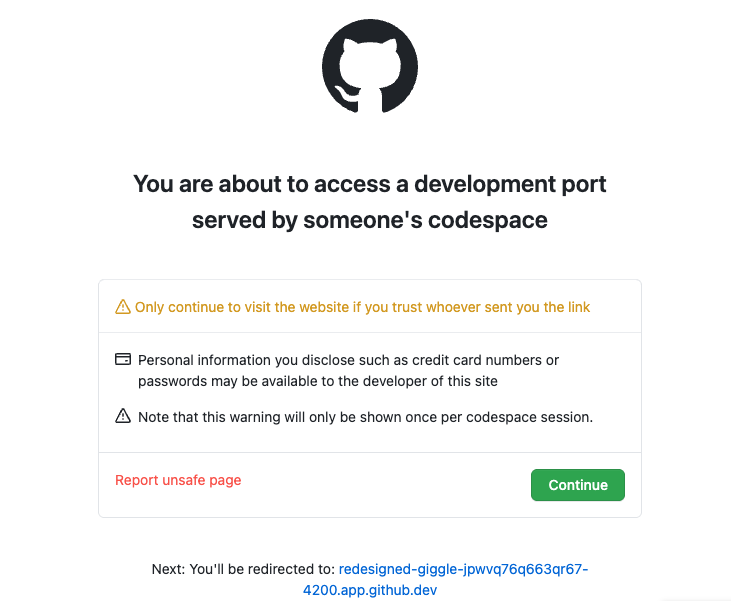
You're seeing this warning because the development server is running on a publicly forwarded port, and GitHub shows a security notice anytime someone accesses a public port. Even in your own codespace, GitHub displays it just to confirm you intended to open that external-facing URL.
Click "Continue" to load the library application website.
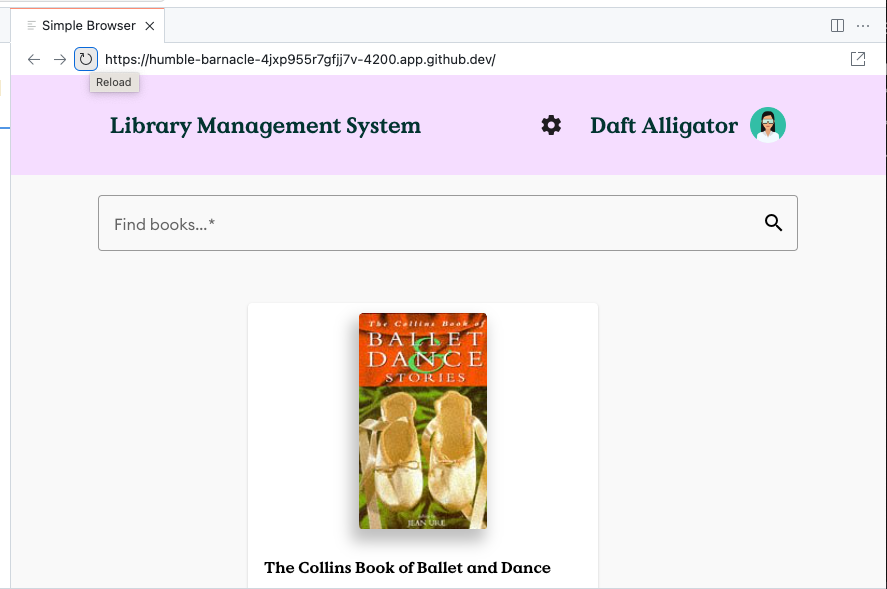
You should see the application with some books listed now.
Open the client in a new window
If you accidentally close the Client or want to open it in a separate tab/window go to the Ports tab, hover over Client and a world icon should appear. Click it and the client will open in a new tab.

🦸 Option 3: Run locally
If you prefer to run the application locally, you can do so by following these steps. Keep in mind that the following steps of this lab will be using Instruqt or the GitHub codespace, so you might need to adapt some of the commands.
During the lab, we will use Instruqt or GitHub Codespaces. These instructions are here just in case you can't use Codespaces or you really, really, really want a local installation.
First, clone the repository to your local machine.
git clone git@github.com:mongodb-developer/library-management-system.git
Then, change to the library-management-system directory.
cd library-management-system
- 🚀 NodeJS/Express
- ☕️ Java Spring Boot
Now, go to each of the client and server directories and install the dependencies.
cd client
npm install
cd ../server
npm install
Start the server application.
npm start
And, in another terminal window, start the client application.
cd client
npm start
-
Before starting the backend, switch to the java-server project.
git checkout java-serverThis command moves you into the correct project folder that contains the Java backend code.
-
Set the MongoDB connection string as an environment variable:
- On Linux / macOS:
export MONGODB_URI="<YOUR_CONNECTION_STRING>"- On Windows:
$env:MONGODB_URI="<YOUR_CONNECTION_STRING>" -
Run the Java server:
cd java-server
mvn spring-boot:run -
Run the client:
(cd ../client && npm install && npm start)
You now have the client running on http://localhost:4200 and the server running on http://localhost:5000.